Import items using Tidy 2's import tool
*To use this function you need Tidy 2 enabled for your organisation. If you dont yet have Tidy 2 enabled, please read Get started - How to get Tidy 2.
All data present within Tidy 2 will be visible within your current Tidy account, and vice-versa.
To import your items into Tidy. In Settings, click Imports.
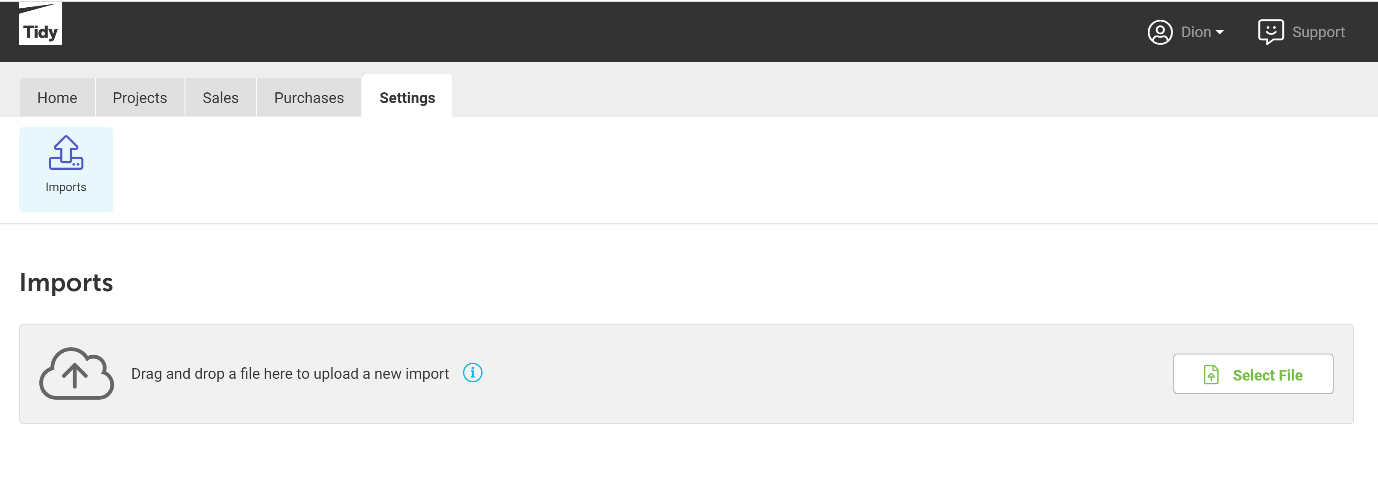
Either drag and drop a file containing your items to upload a new import, or click on Select File to select a file from your device.
Accepted file types are .csv, .xlsx, .xls, .cub, or .tsv.
Please note, all items imported using Tidy's new import function will automatically appear in your existing Tidy account once they have been processed, as they contain the same data.
When you upload a new import, it will automatically begin importing. You can leave the page and it will not disrupt the import process.
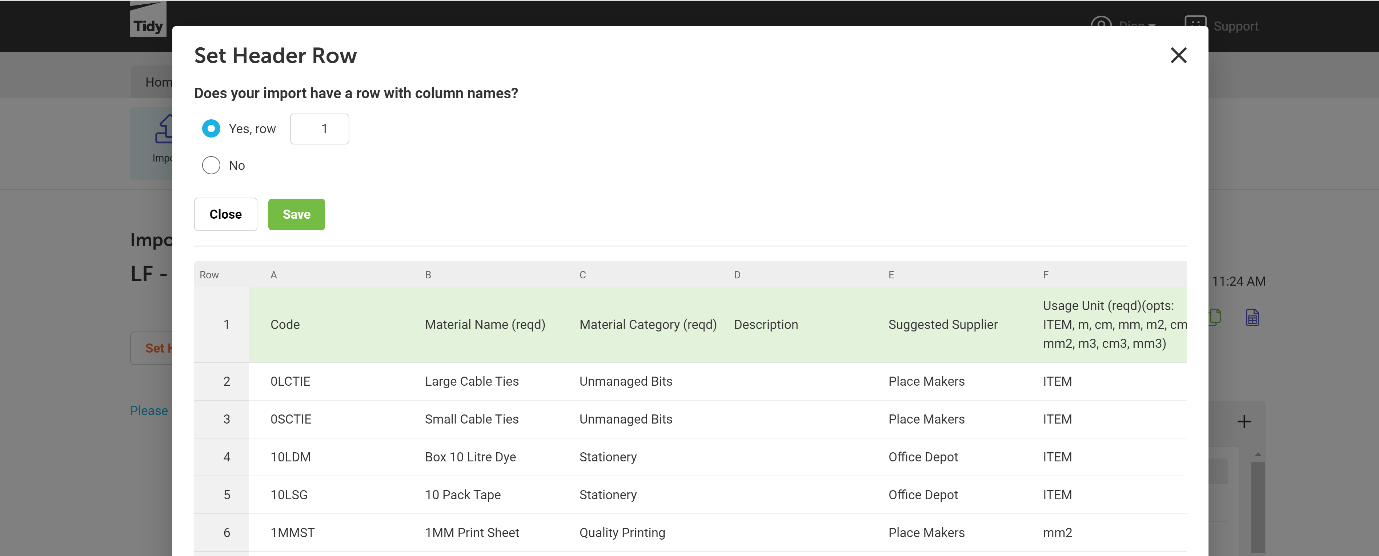
Once the file has been imported, a pop-up box will display asking you to select the row with column names. This header will be used as the reference for matching the columns. If there are no column names, press No, then Save.
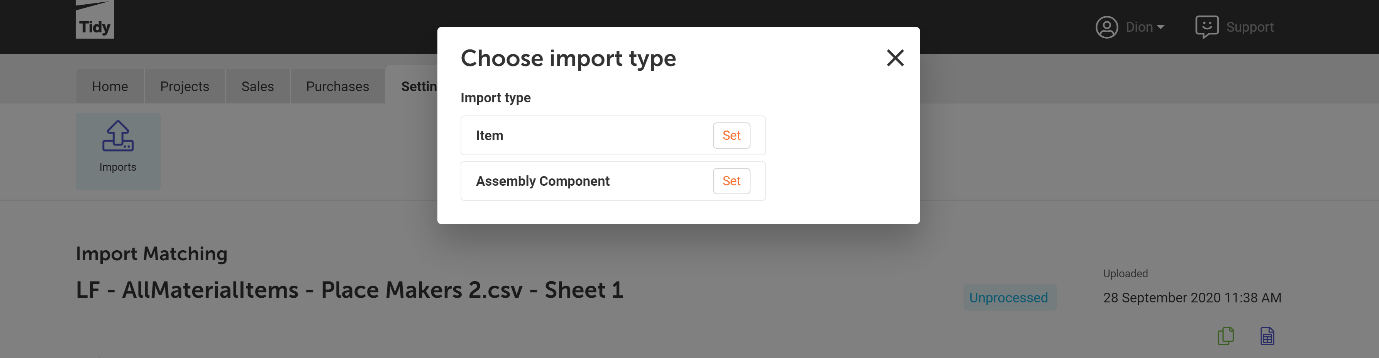
You will be asked to choose the import type. You have two options; click Set for Item.
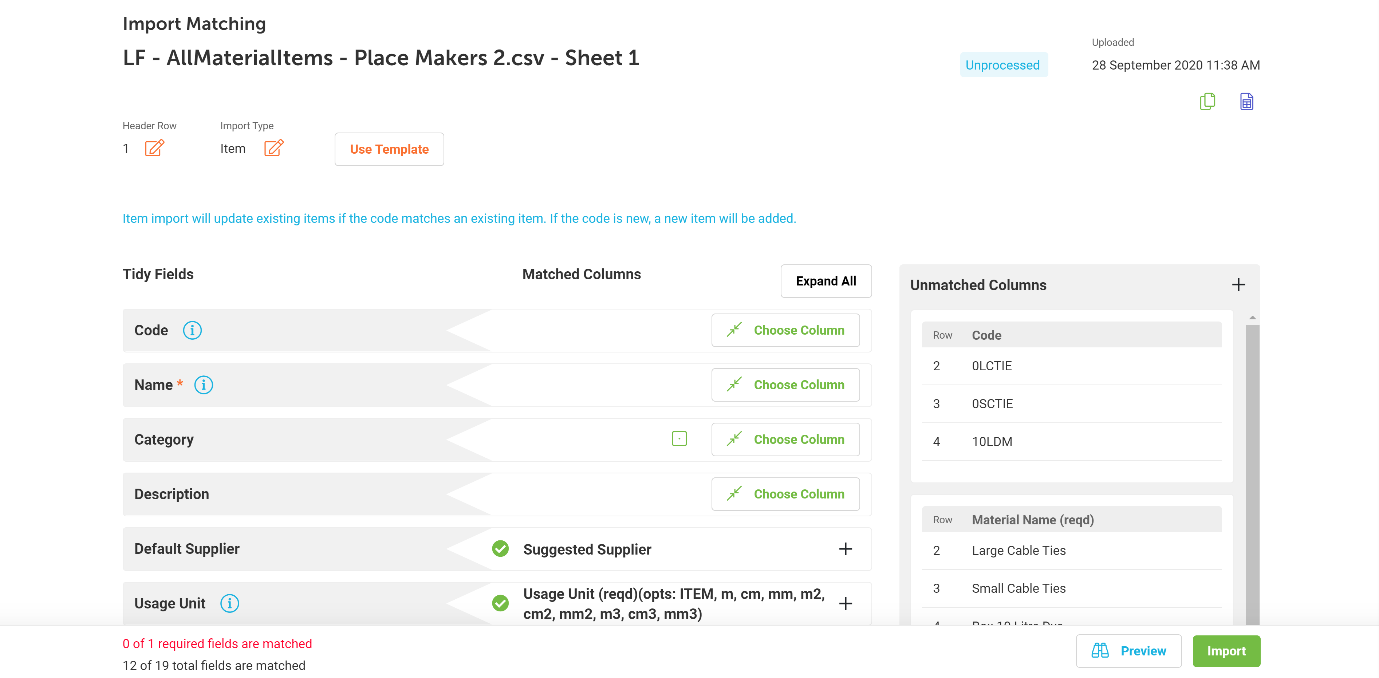
Tidy will automatically match the columns from the imported file with the associated Tidy fields.
If a product code in the imported spreadsheet matches an existing item in Tidy, it will update the existing item. If the product code is new, a new item will be added.
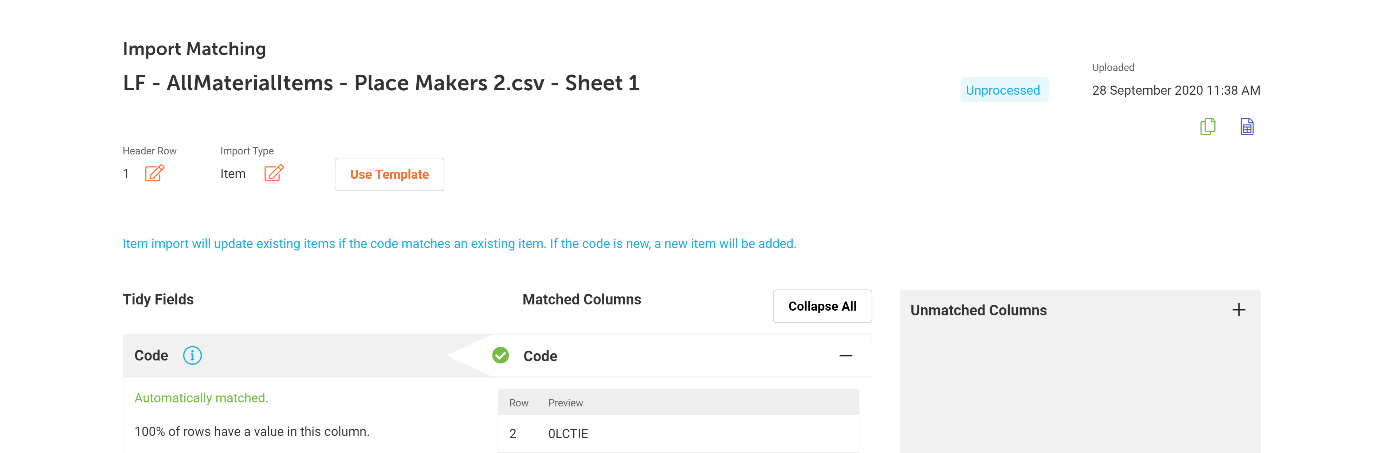
The Tidy fields will appear on the left-most column, with the matched columns from the imported spreadsheet beside them.
Any unmatched columns will be presented on the right-hand side, in the Unmatched Columns section.
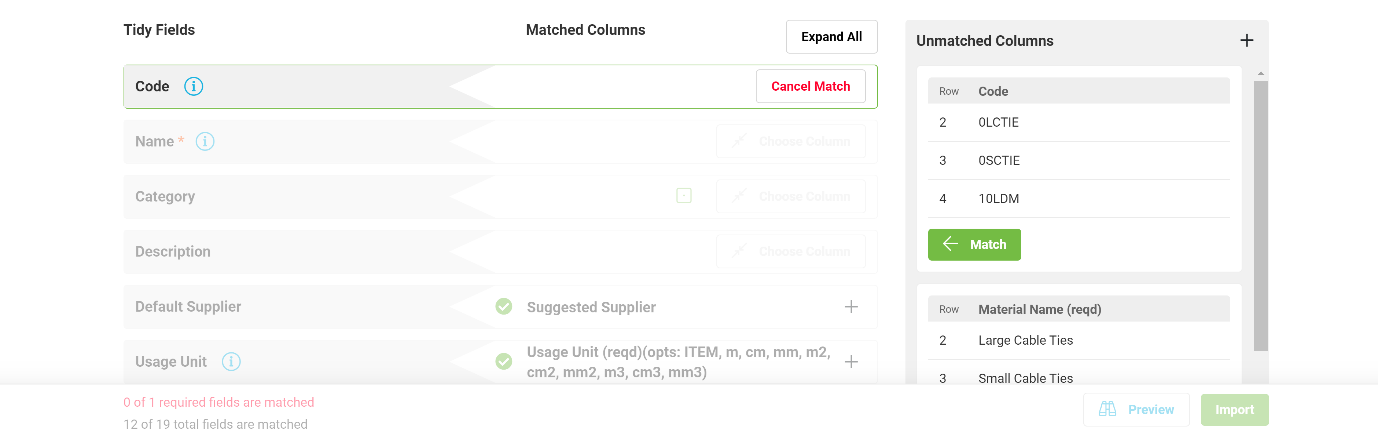
To match a column from the imported spreadsheet to the associated Tidy field, click Choose Column, then Match on the column you would like to associate with the Tidy Field.
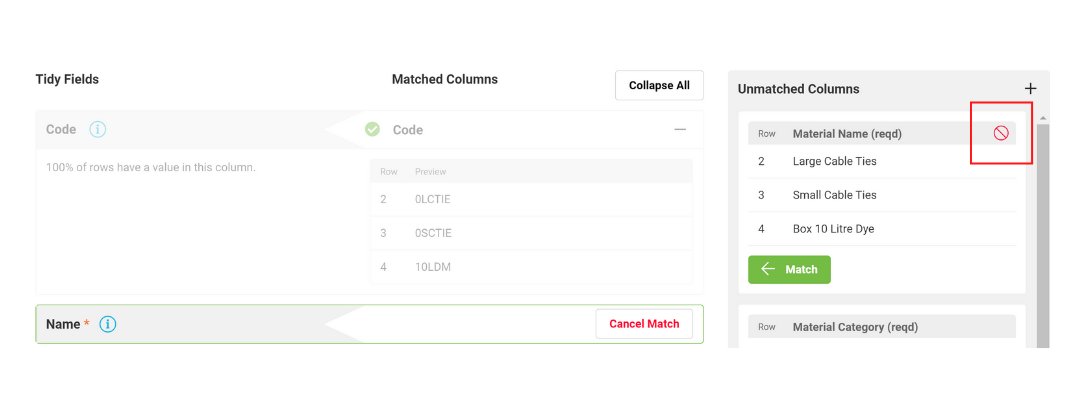
If you do not want to import a specific column to a Tidy field, you can click Ignore.
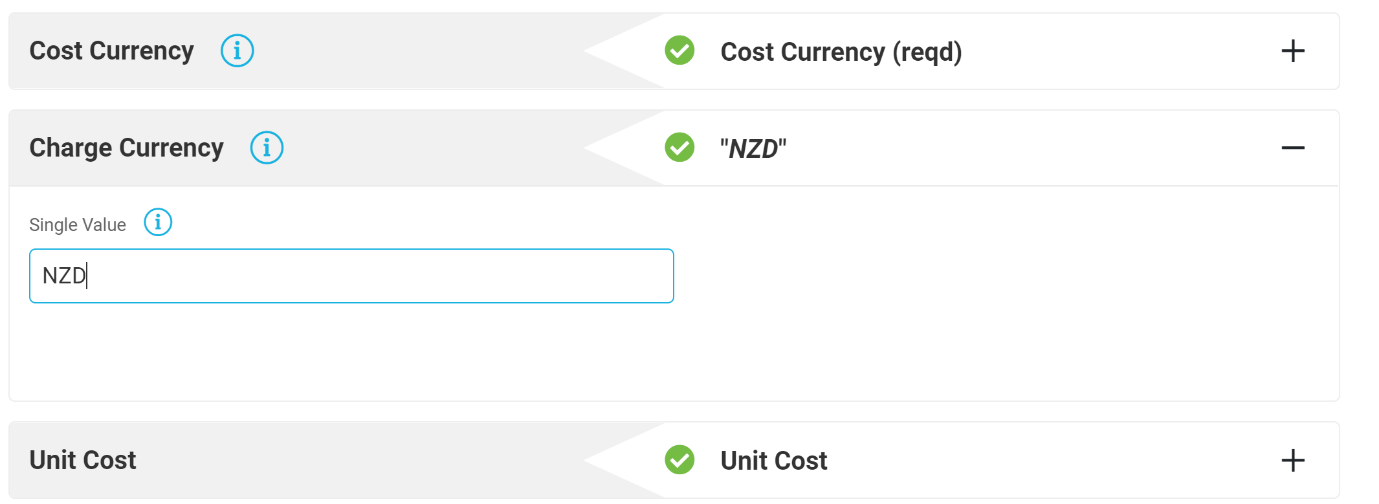
You can also set a Single Value for all rows within a Tidy field.
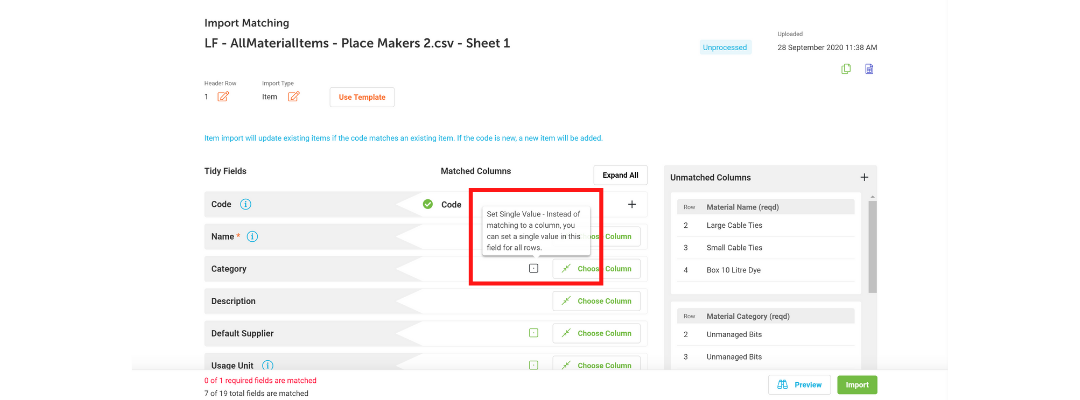
For example, if the currency you charge is the same (in this case NZD), you can set the single value to be used.
Once you have matched all your desired columns with the corresponding Tidy fields, you can proceed to import your Items. Click Import at the bottom right corner of your screen.

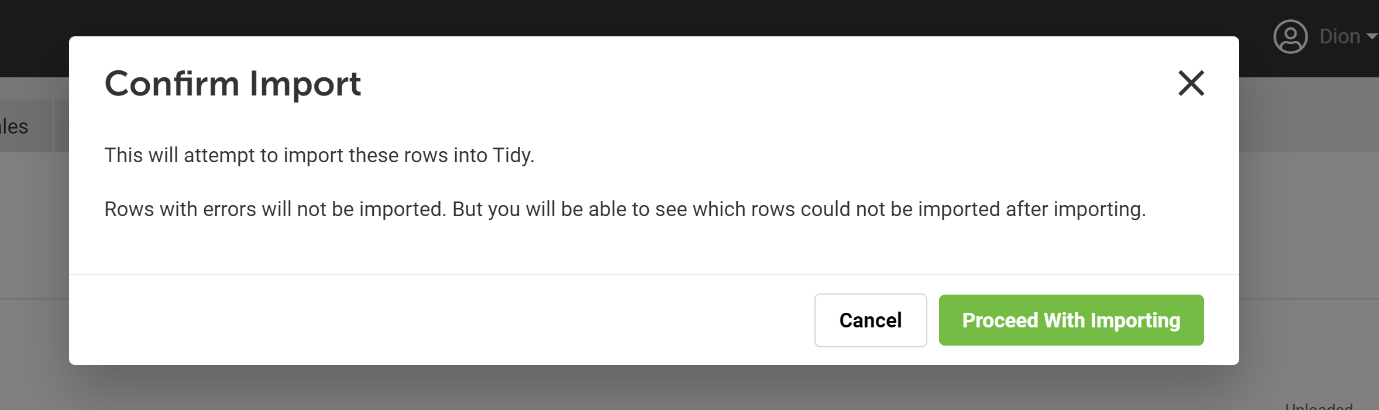
You will be presented with a confirmation pop-up. Click Proceed With Importing.
If there are any errors, the rows will not be imported, however you will be able to see which rows were unable to be imported.
Once the data has finished being processed, you will be presented with the Import Results screen. You will see the rows that were successfully imported, as well as any rows that had errors.
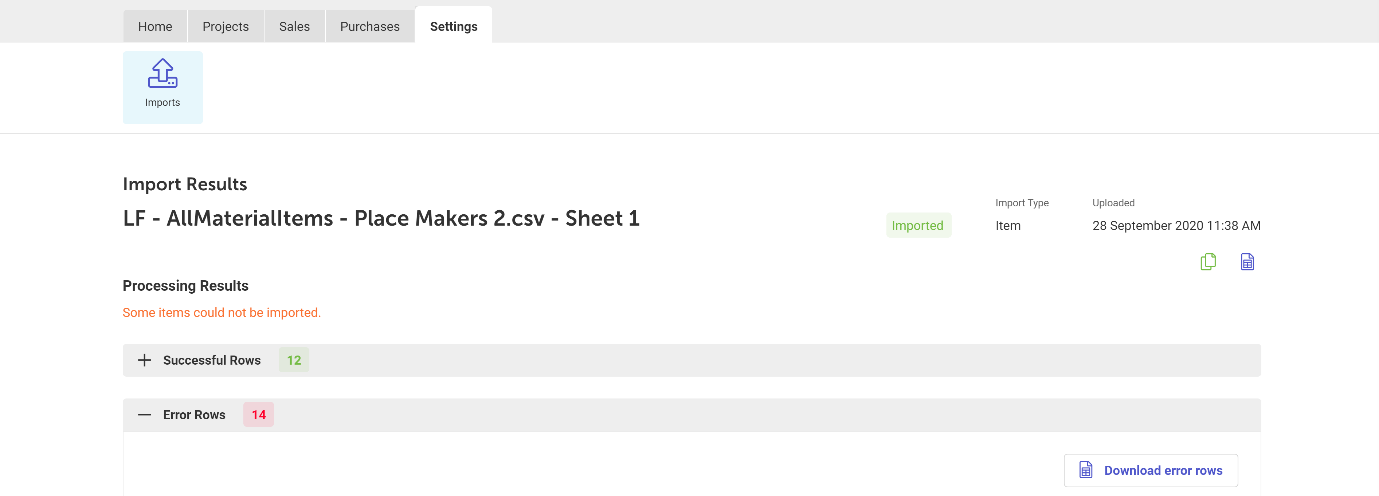
In the rows containing errors, the field will be highlighted in red. To resolve these issues, you can Download Error Rows, make changes and re-import the items.
Items that have been imported will now be visible in your Tidy account.
Items have four statuses. These are:
- Imported
- Unprocessed
- Processing
- Failed