Bulk import of customers
TidyBuild provides a bulk import function to allow you to import customers faster.
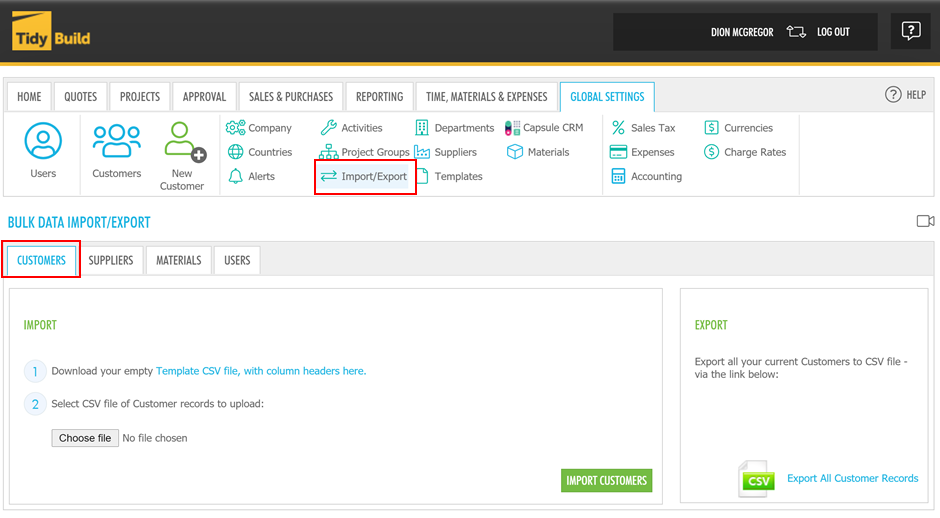
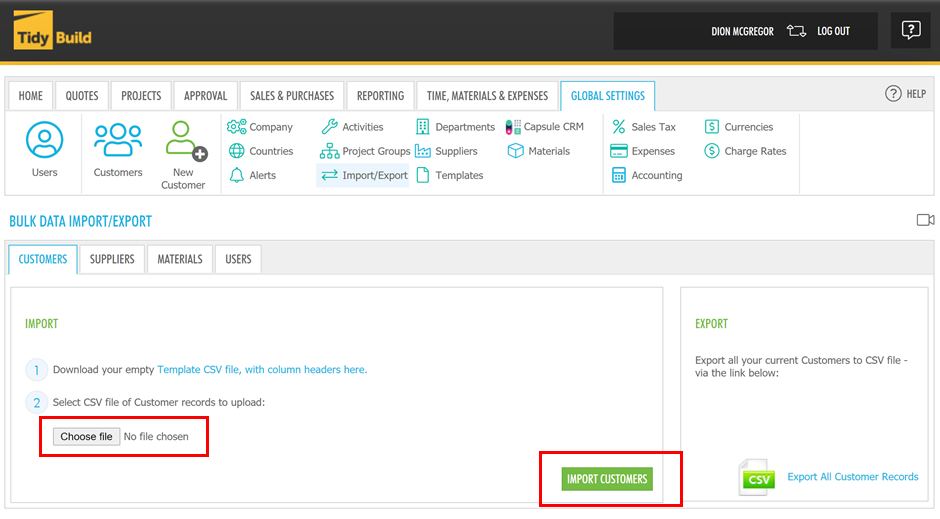
To import customers into TidyBuild, click on the Import/Export option in your Global settings. You will see the CUSTOMERS tab.
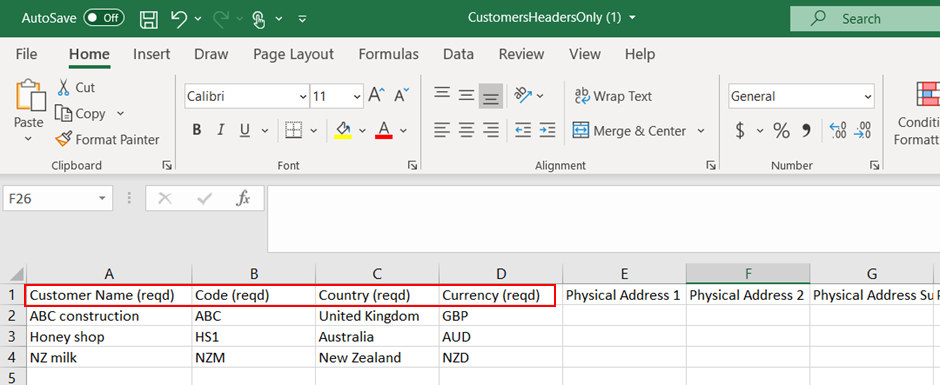
Follow the steps, download/open the template, and then add or copy your data (in this case, Customer data) into the spreadsheet. Note that only the required fields identified in the template need to include data, the rest can remain blank if the information is not available:
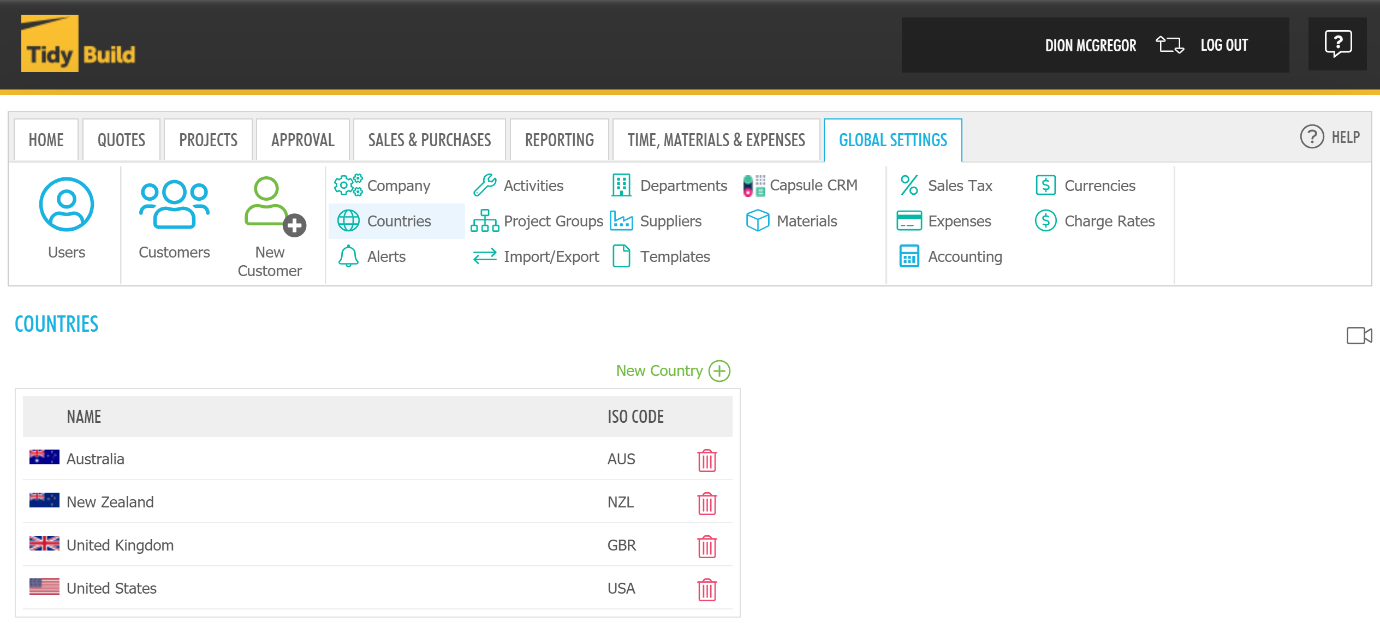
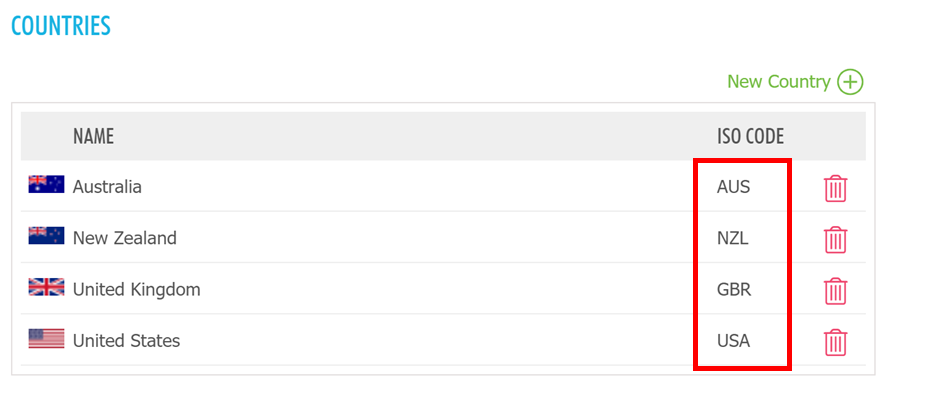
Note: The imported entities are dependent on other configurations in TidyBuild, in particular Countries and Currencies. Please ensure that all dependent fields present in the template CSV files have been configured prior to import. Code (reqd) must be upper case (e.g. 'ABC123') and cannot contain spaces and special characters, up to 6 characters. The Country (reqd) must be the full name in Countries setting, Currency (reqd) must be same code in Currencies setting.
Customer Headings:
The Customer import/export provides the ability to set the following columns in the CSV file:
The Customer import/export provides the ability to set the following columns in the CSV file:
| Column | Comments |
|---|---|
| Customer Name | Required. |
| Code | Required. Must be upper case letters and numbers only up to 6 characters. Cannot contain spaces and special characters. Eg. "ABC123". |
| Country | Required. Full name of a country that has already been added to the list of Countries in TidyBuild. |
| Currency | Required. The 3-letter ISO code for a currency that has already been added to the list of Currencies in TidyBuild. |
| Physical Address Fields | Address1, Address2, AddressCity, AddressPostcode |
| Contact Fields | These fields relate to the primary contact for the customer. At least a Contact First Name is required. Fields are: First Name, Last Name, Email, Phone, Mobile, Fax |
Once the template has been completed and saved, click the Choose File button from the TidyBuild customer import screen, and browse to the template file you have created. At this point, you will have the option to Import the file:
Once any necessary correction has been made, repeat this step using the Import option to complete the data import. Once finished, you will be notified that the import was a success. You will be able to view the customers on your customer list by clicking Customers button in your Global settings.
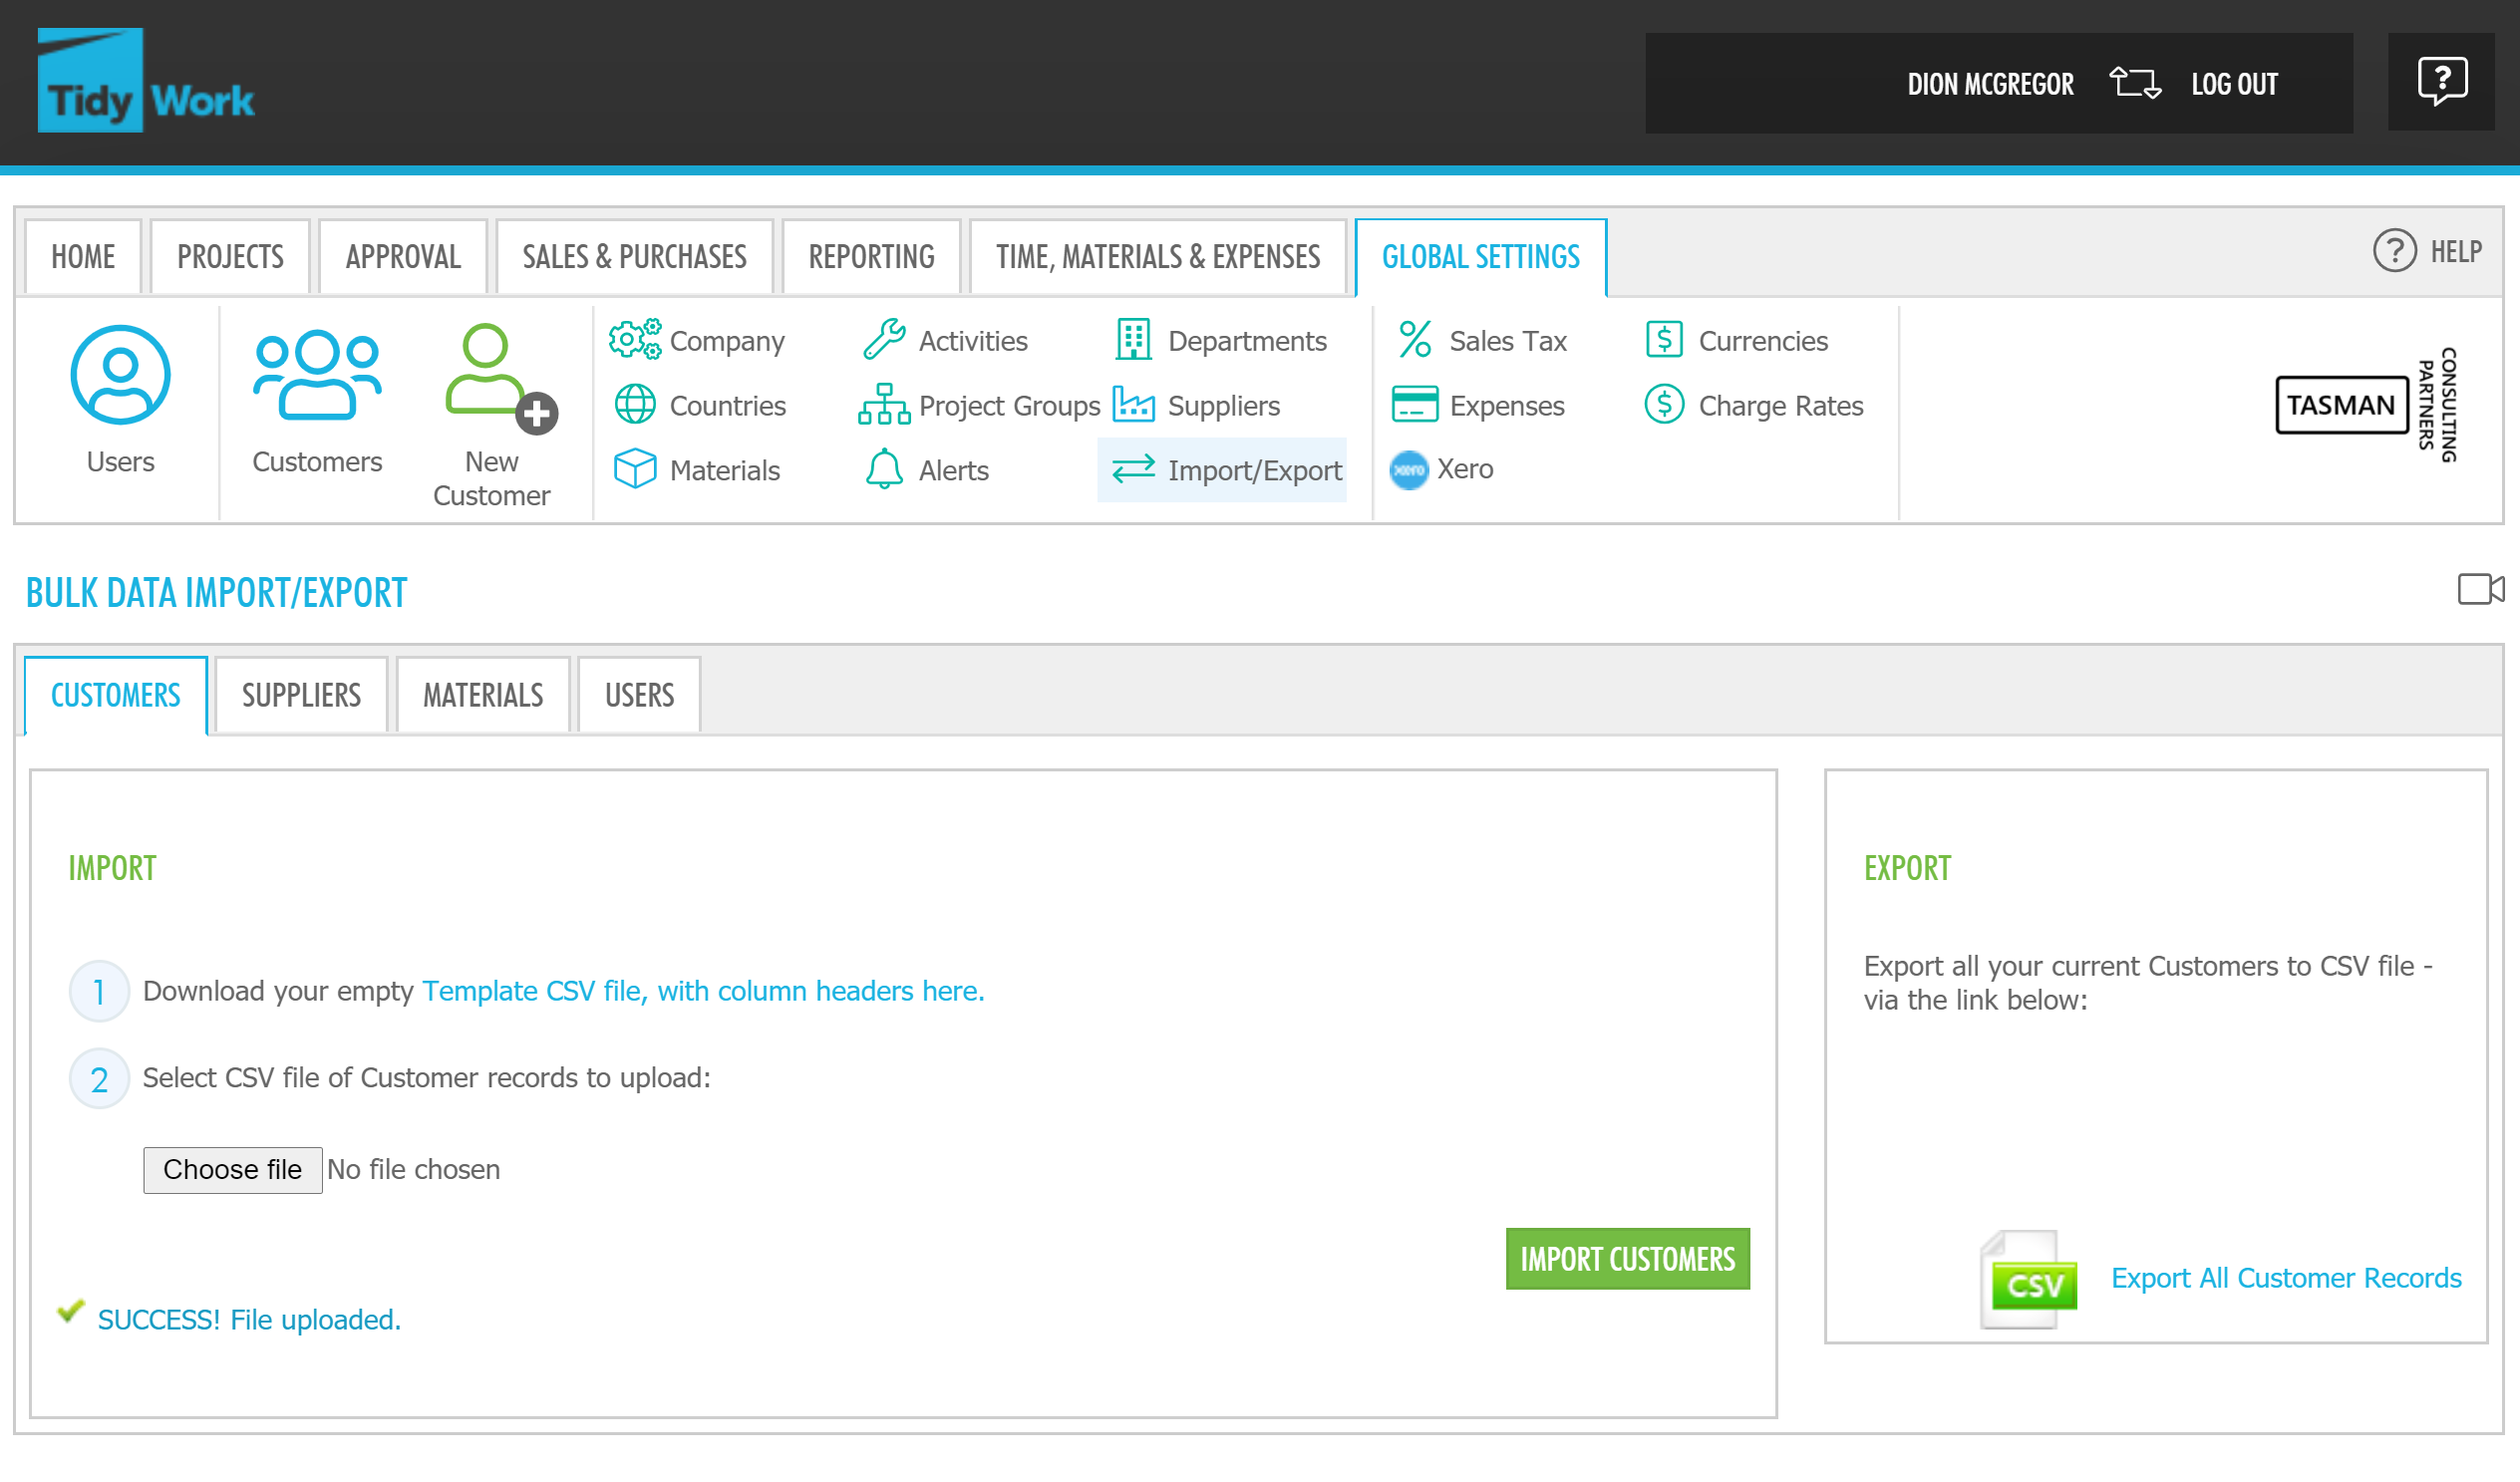
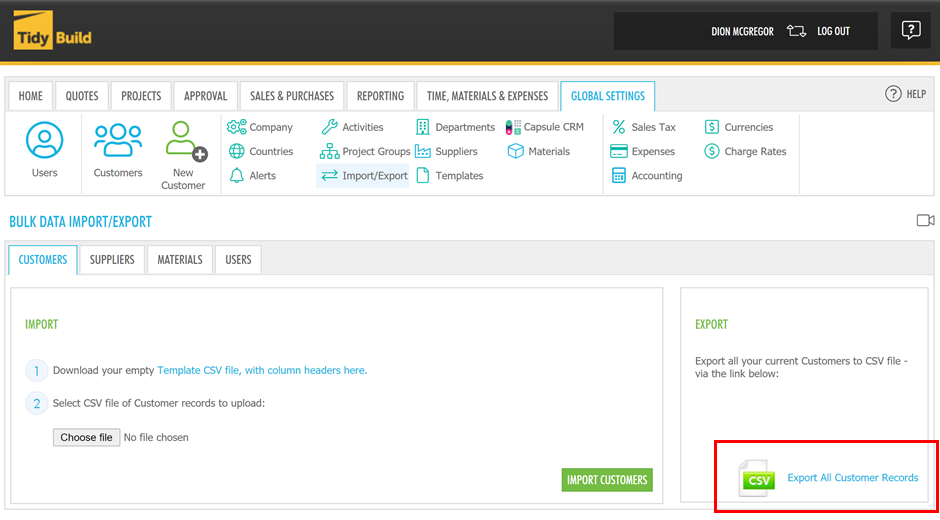
You can also export customers by clicking Export All Customer Records on the BULK DATA IMPORT/EXPORT screen. Modify the existing customers information or add new customers, then follow the steps above to import the customers.