Set up customer sales portal
Introduction
The Customer Portal is a standard web page application that provides a platform in which customers can view their past orders, clone a past order or create a new order.
Sales orders made on the Customer Portal use the Tidy API to create a new sale and save it as a draft in the Tidy system. Business users are then able to review these draft sales orders, make changes if required and eventually invoice them.
Business Benefits
Improves process efficiency and productivity for both your business and your customers. Your business will not need to take orders manually (via email, phone call, face-to-face) and then create the order on the Tidy application. Instead, customers can directly create and save an order onto Tidy.
How to set up the Portal for your customers
Invitation to Customer Portal
For a customer to access the Customer Portal, they need a unique Auth ID and the TidyStock URL that will be necessary for user registration. This can be sent automatically via an invitation email directly from TidyStock.
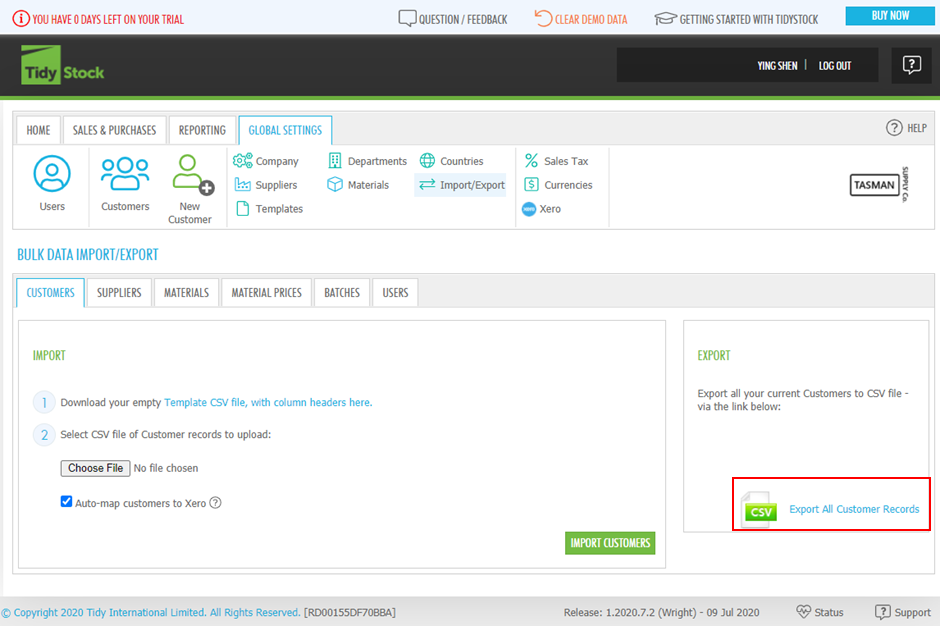
Check the Customer Portal checkbox and the Email link on Save? and specify the customer email address on the customers edit page. Click save on changes and all necessary details will be sent to the customer for registration.
Features and Functionality
Registration
Click the link in the invitation email to access the Customer Portal.
Click on the Not Registered? link on the login page to be redirected to the registration page.
Step 1 - Enter Tidy URL and Auth ID provided in the invitation email.
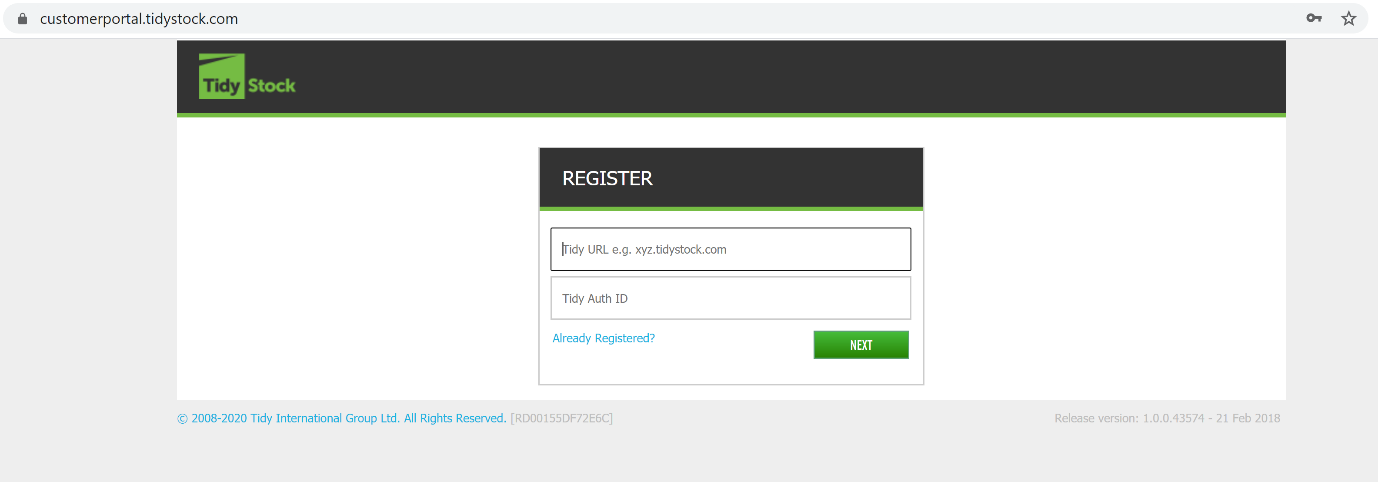
The system will validate the user input and the customer will be directed to the registration form on success.
Step 2 - Register by entering new password, four-digit PIN and email address.
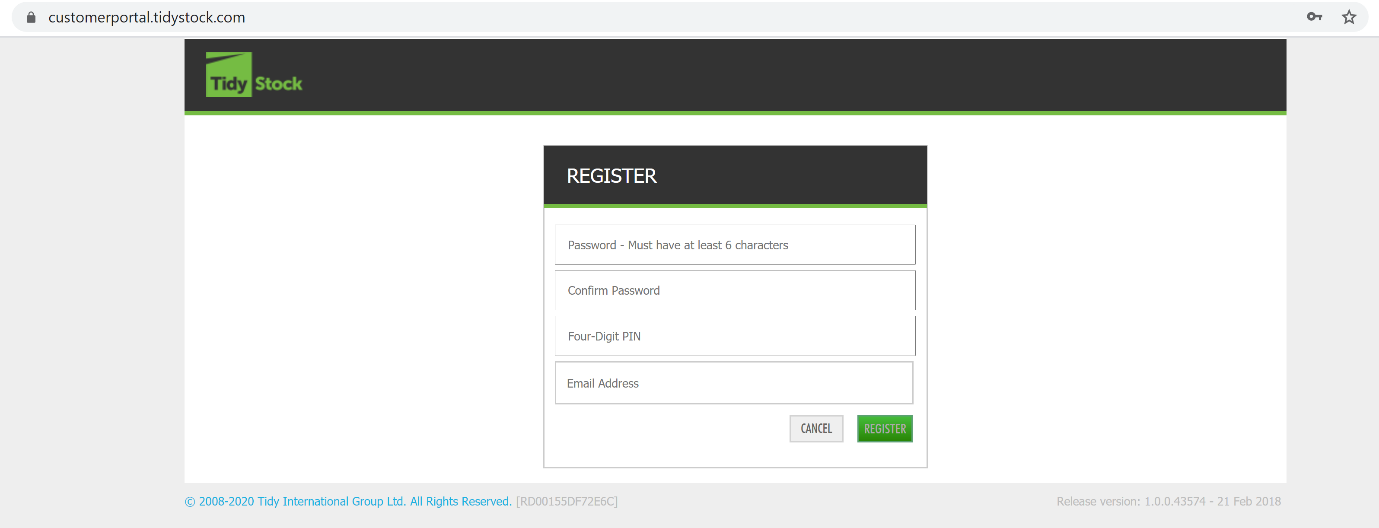
The data entered will be validated and the customer will be registered.
Step 3 - Check inbox for confirmation email and click on the activation link.
After they activate their account, the customer will be redirected to the Home page, displaying their order history.
Login
Step 1 - Enter the email address associated with the customers account.
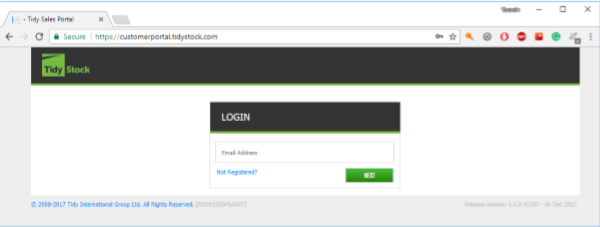
After validating the email address, the customer will be directed to the login form.
Step 2 - Enter password or PIN to login.
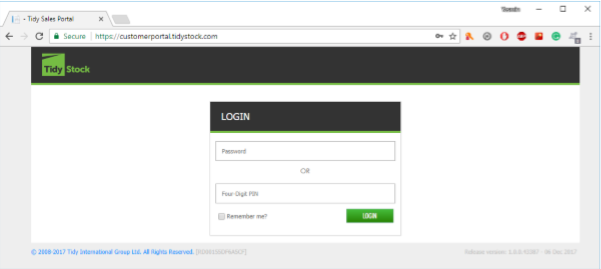
Once the customer enters the correct password or PIN, they will be logged into their account and redirected to the Home page.
Browse Order History
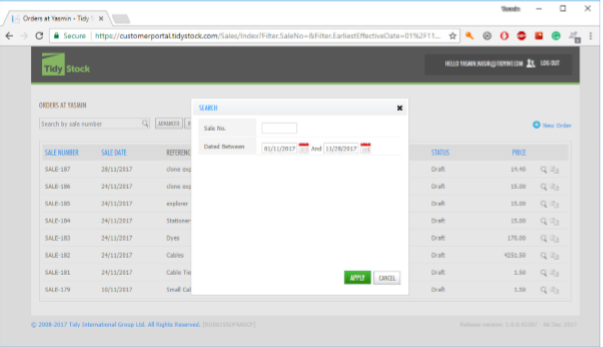
After login, the customer is redirected to the Home page which features a list of past orders.
They can sort the order list by sale number, date, status or price.
They can do a simple search to find an order with a specific sale number, or do an advanced search to get a list of orders made between different time-periods.
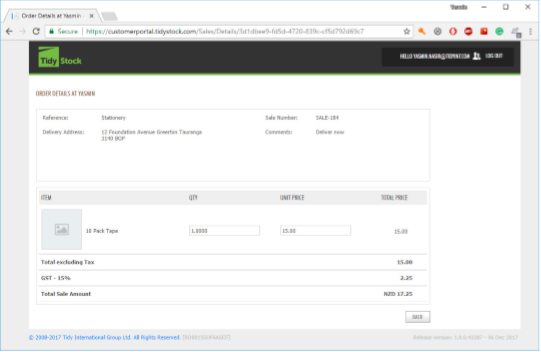
Viewing a Past Order
Details of a past order can be viewed by clicking on the magnifying glass button at the right end of the order record.
Cloning a Past Order
A past order can be cloned by clicking on the copy button at the right end of the order record. This will open-up the new order form and automatically fill in all fields with details from the cloning order. This allows the customer to make changes before placing the order.
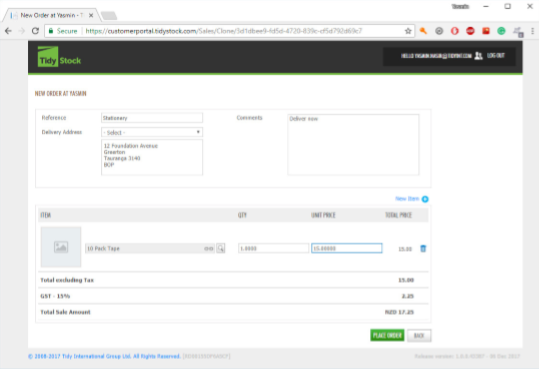
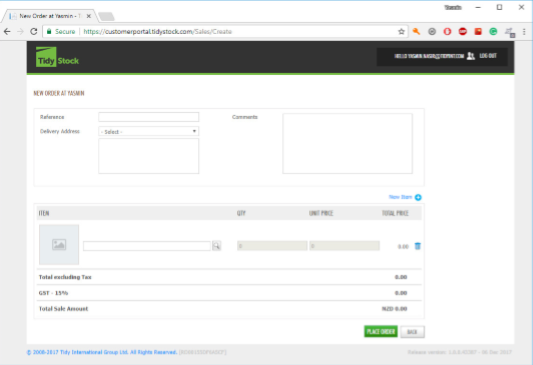
Creating a New Order
A new order can be created by clicking on the new order icon at the top right corner above the order table.
The new item icon adds an empty product record allowing the customer to add more products to their order.
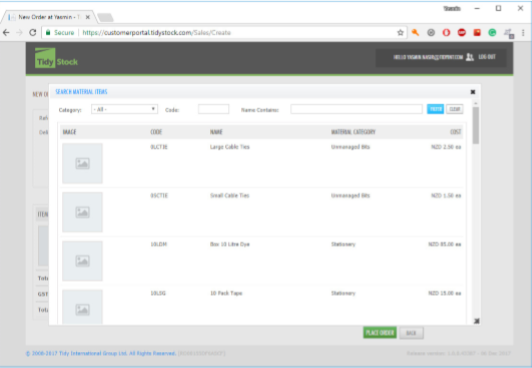
The magnifying glass button allows the customer to browse through the products available and select them to add to their order.
The rubbish bin button allows the customer to delete a product from their order.