Bulk import of users
TidyStock provides a bulk import function to allow you to import users faster.
To import users into TidyStock, click on the Import/Export option in your Global settings. You will see the USERS tab.
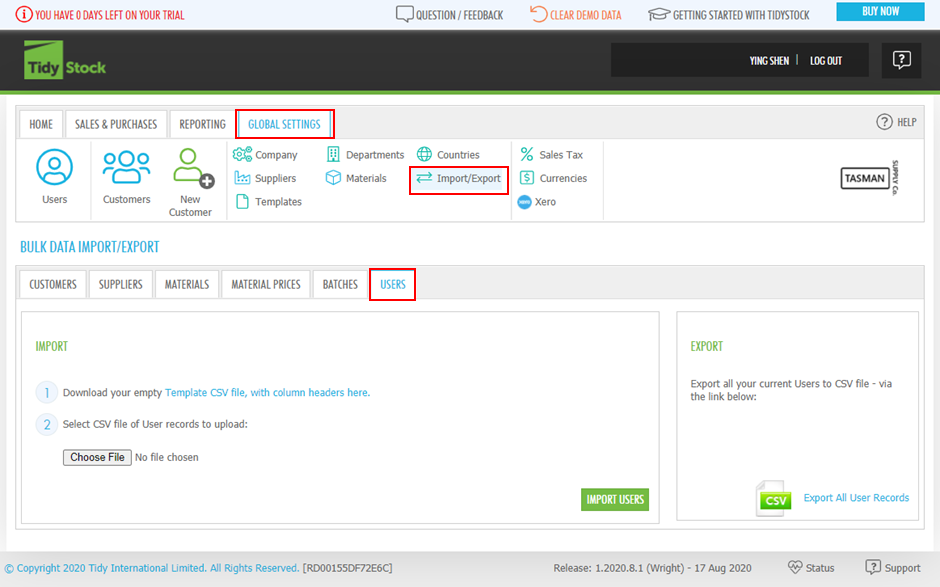
Follow the steps, download/open the template, and then add or copy your data (in this case, User data) into the spreadsheet. Note that only the required fields identified (with reqd at the end) in the template need to include data, the rest can remain blank if the information is not available:
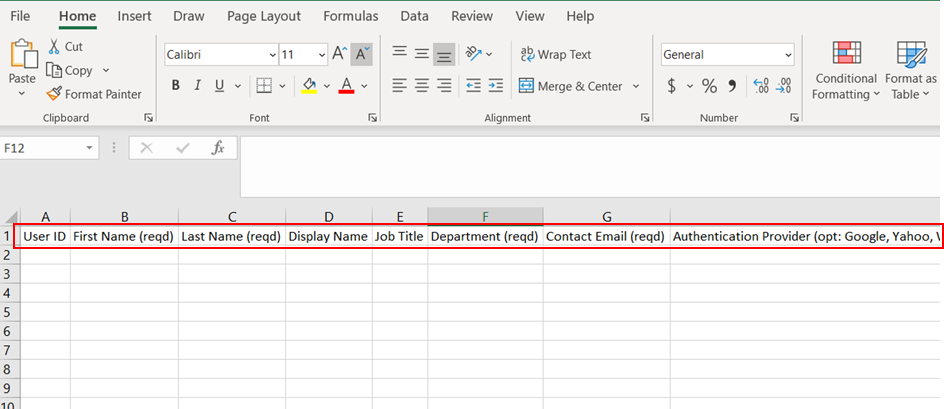
User Headings
The User import/export provides the ability to set the following columns in the CSV file:
| Column | Comments |
|---|---|
| User ID | Optional |
| First Name | Required |
| Last Name | Required |
| Job Title | Optional |
| Department | Required. Must be a valid Department name as it appears in the Departments list |
| Contact Email | Required |
| Authentication Provider | Required. Can be any of the following values: Google, Yahoo, WindowsLiveId, Facebook, Microsoft ActiveDirectory |
| Authentication ID | Login email. Required |
| Role Fields | These fields have valid values of Yes or blank. For the Time Writer column, the value must be Yes. The roles and permissions that can be set are: Resource Administrator, System Administrator, Invoicer, Reporter |
After you complete and save the spreadsheet, click Choose File and browse to the template file you have created. At this point, you will have the option to Import the file:
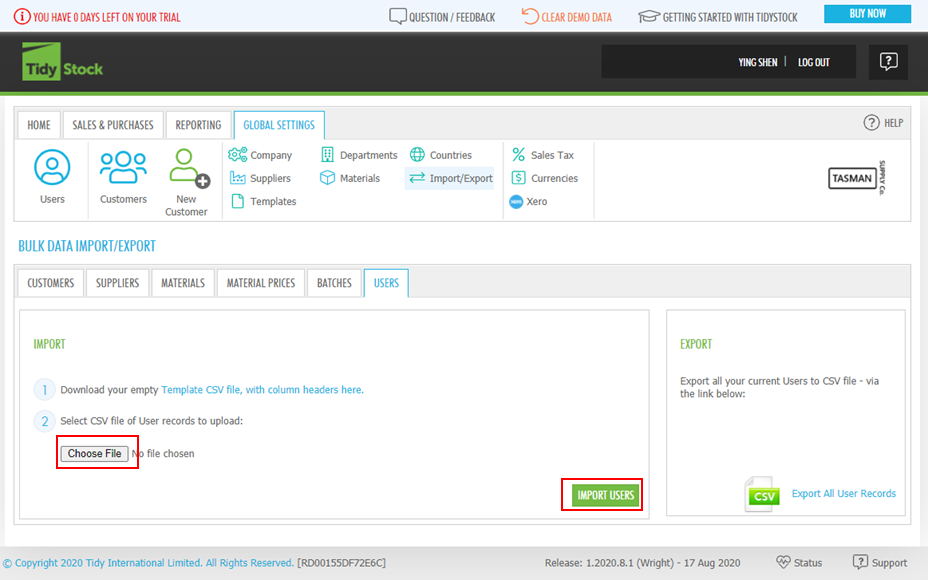
Once you have made any necessary corrections, repeat this step using the Import option to complete the data import. Once finished, you will be notified that the import was a success. You will be able to view the users on user list by clicking Users button in your Global settings.
You can also export the users by clicking Export All User Records on BULK DATA IMPORT/EXPORT screen. Modify the existing users or add new users, then follow the steps above to import the users.