Time, materials & expenses approval
There are four statuses you can set a Time, Material, or Expense entry as. These are

Submitted for Approval
Rejected
Approved
Invoiced
Time Approval
To Approve Time, you need to have the user role of Time Approver and be assigned to the project you are approving time for. To learn more about user roles, read Global settings - Users - User roles.
Go to APPROVAL > Time
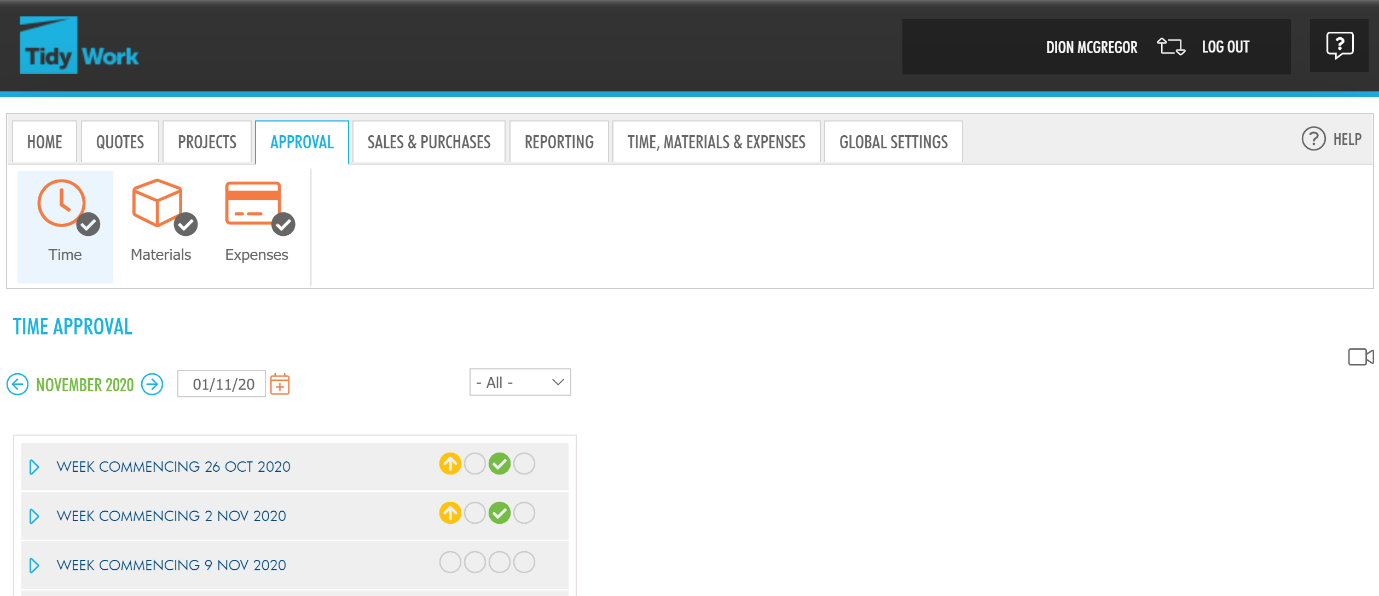
You will see the Time Approval screen, with the different statuses displayed.
As shown above, there are multiple statuses shown. Navigate to the week where there is displayed. These are unapproved time entries ready for approval (or rejection).
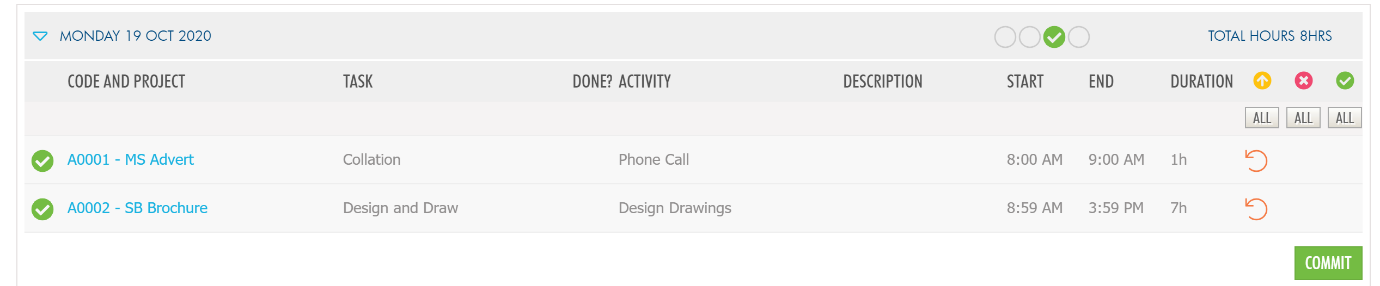
Expand the week, you will see a list of team members with the amount of time they have submitted, and the status of their entry. 
Click on the team member you want to approve time for.

Once you are happy with the time your team members have submitted, move the button to approved, then click COMMIT.
If the time submitted is inaccurate or for any other reason, you can __reject __the time entry.
Then, click COMMIT.
If for any reason you want to revert or undo a time entry that has already been committed (saved) then click  and you will be able to change your decision and click Commit again.
Material Approval
To Approve Materials, you need to have the user role of Material Approver and be assigned to the project you are approving materials for. To learn more about user roles, read Global settings - Users - User roles.
Go to APPROVAL > Materials
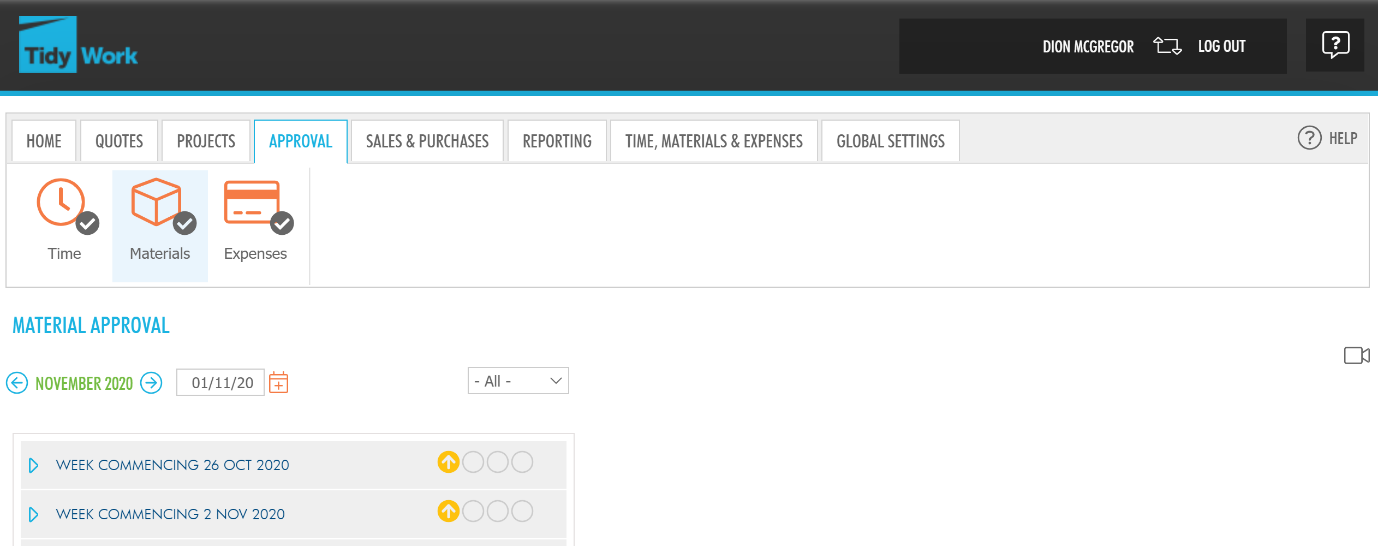
You will see the Material Approval screen, with the different statuses displayed.
As shown above, there are multiple statuses shown. Navigate to the week where there is displayed. These are unapproved material entries ready for approval (or rejection).
Expand the week, you will see a list of team members with submitted materials, and the status
of their entry.

Click on the team member you want to approve materials for.
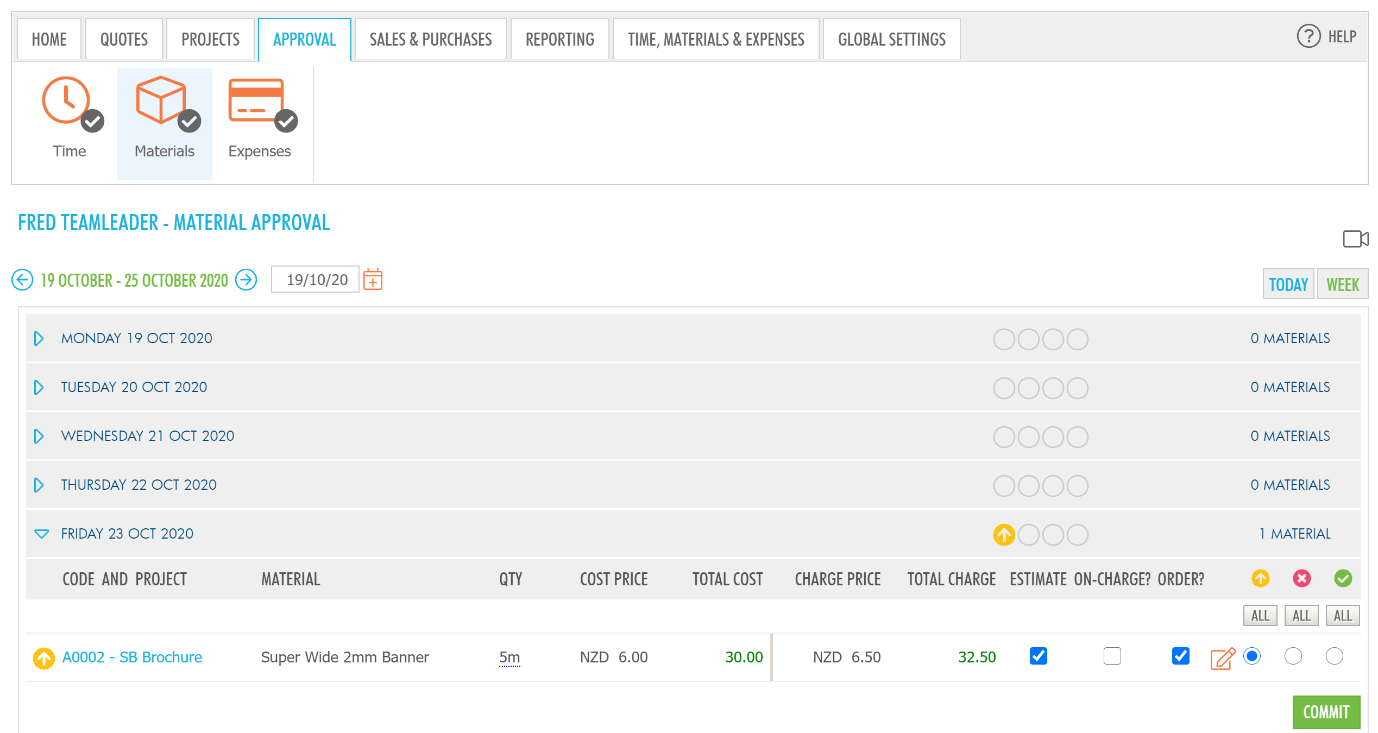
If you are happy with the materials your team members have submitted, move the button to approved, then click COMMIT.
If the materials submitted are inaccurate or for any other reason, you can reject the material entry.
Then, click COMMIT.

If for any reason you want to revert or undo a material entry that has already been committed (saved) then click  and you will be able to change your decision.
If you need to edit the material characteristics including the quantity used, cost, or charge, click on  and you will be able to edit the material.
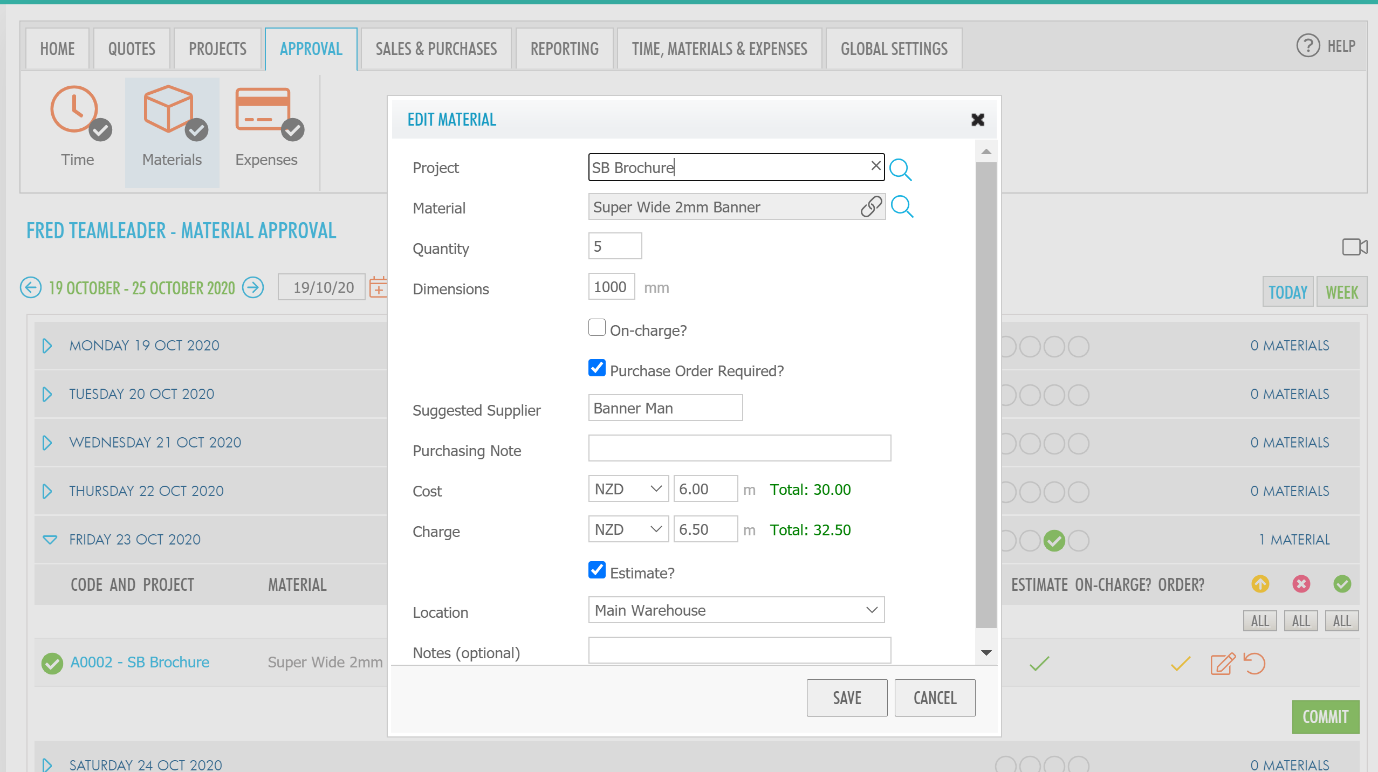
Once you have made any changes necessary, click Save.
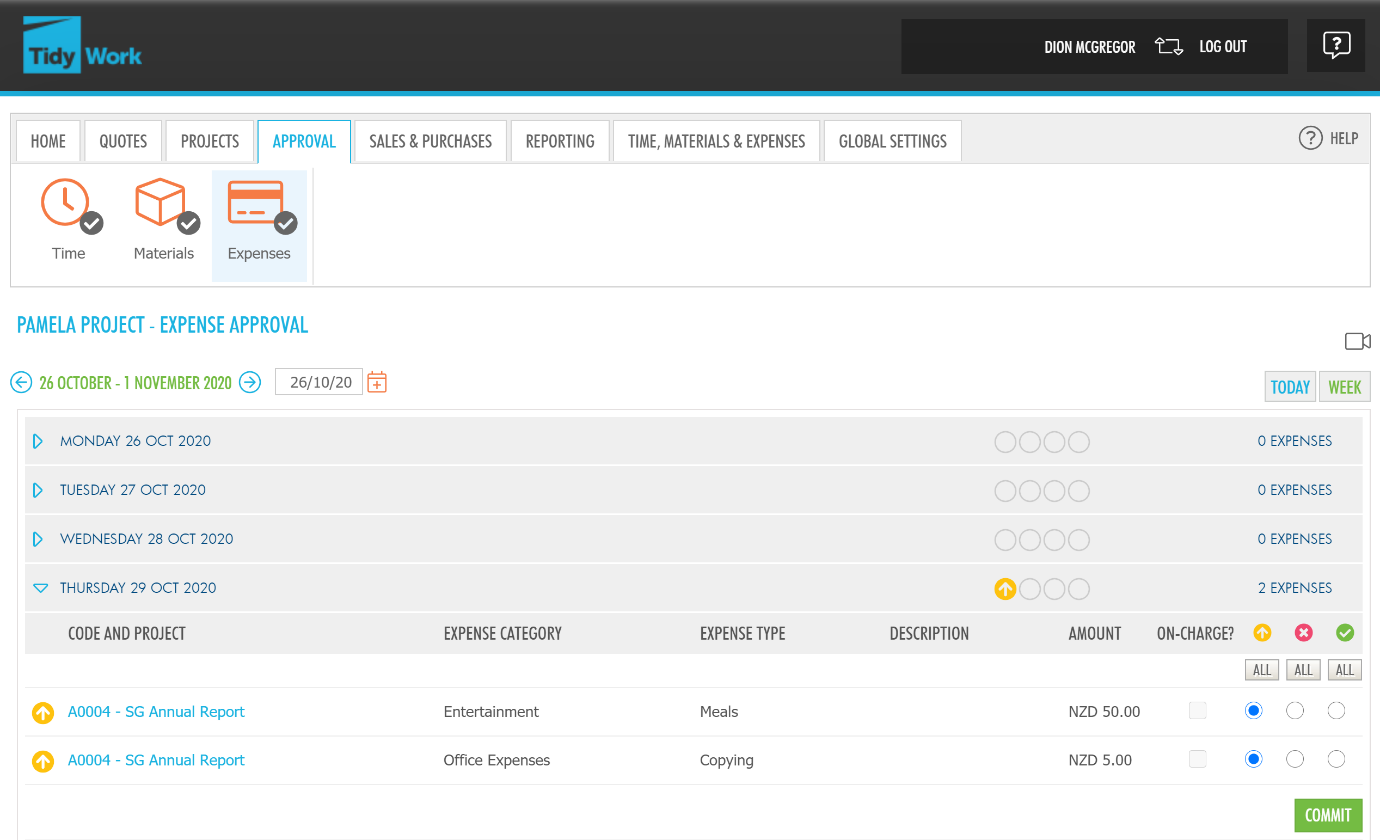
Expense Approval
To Approve Expenses, you need to have the user role of Expense Approver and be assigned to the project you are approving expenses for. To learn more about user roles, read Global settings - Users - User roles.
Go to APPROVAL > Expenses
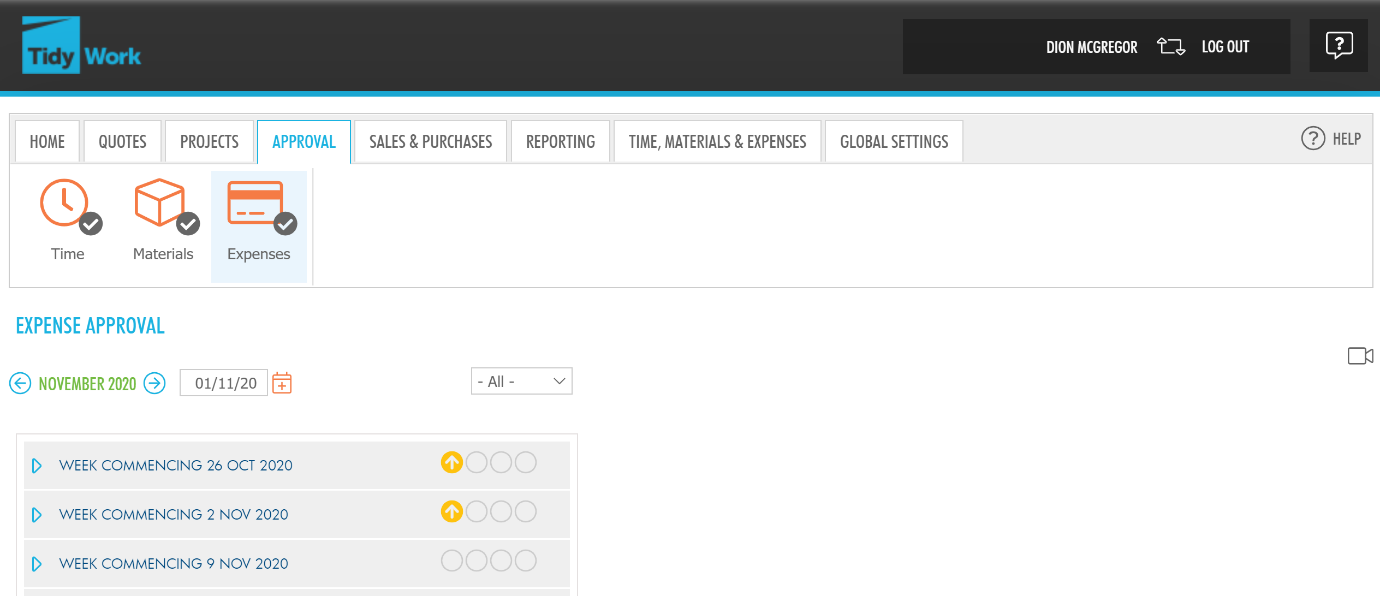
You will see the Expense Approval screen, with the different statuses displayed.
As shown above, there are multiple statuses shown. Navigate to the week where there is displayed. These are unapproved expenses ready for approval (or rejection).
Expand the week, you will see a list of team members with submitted expenses, and the status
of their entry.
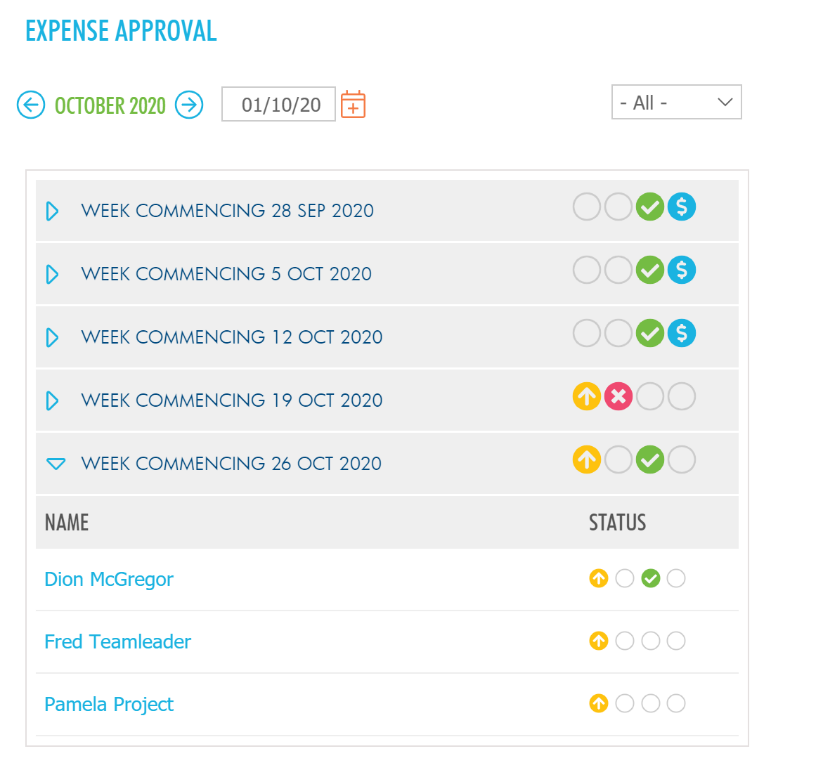
Click on the team member you want to approve expenses for.
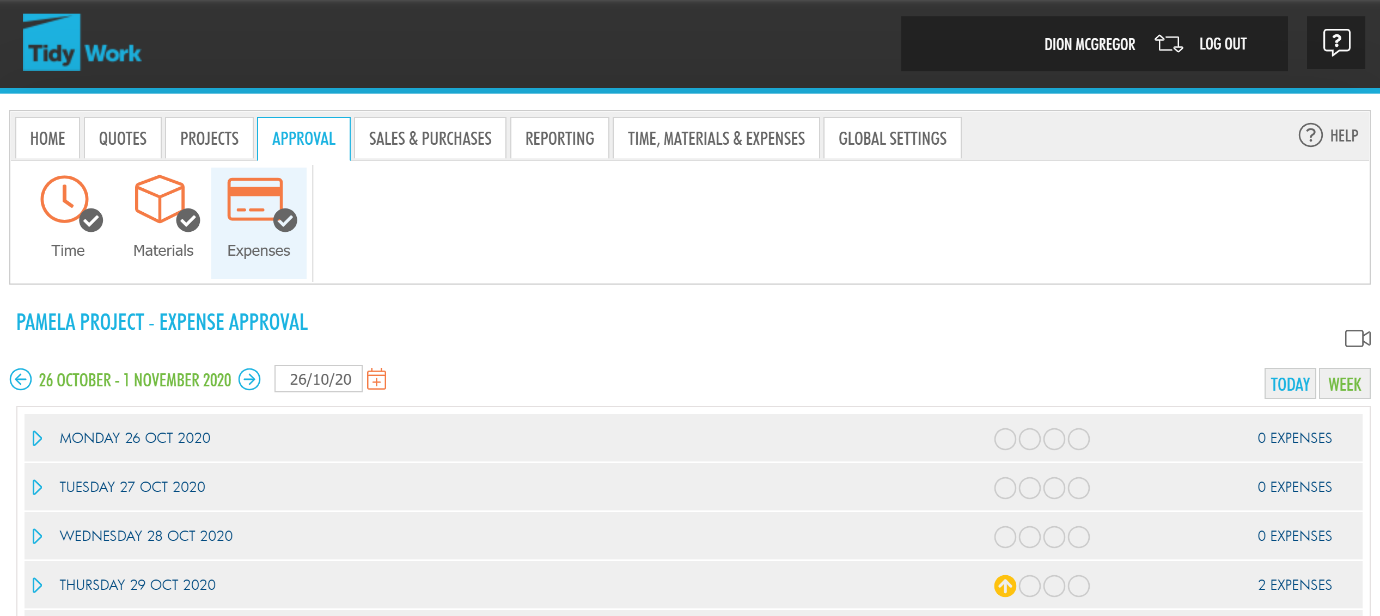
If you are happy with the expenses your team members have submitted, move the button to approved, then click COMMIT.
If the expenses submitted are inaccurate or for any other reason, you can reject the expense.
Then, click COMMIT.
If for any reason you want to revert or undo an expense that has already been committed (saved) then click...

...and you will be able to change your decision.